Friday, October 21, 2011
Tuesday, October 18, 2011
Alternative photo processes and transfers
I am so thankful that the weather is starting to change to cooler temperatures. It means that I can start the darkroom up again. I love just going in there and closing the door and turning the red light on. I took stock today of what needed to be ordered for developing and processing. Can't wait.
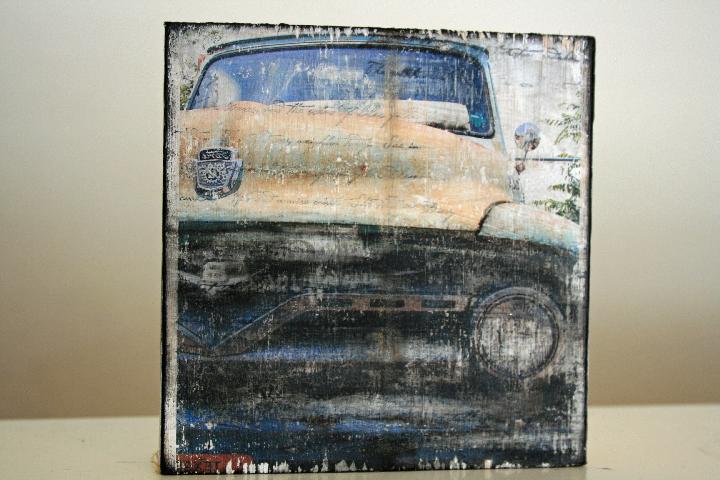
So, a while ago my mom gave me some really nice wood blocks to play with as I wished. They sat in my studio for a long time because, I was just not sure what direction to go in with them. Well, I finally broke them out today. I have used a photo of an old Ford pickup that is in a storage unit right by our house. I loved all of the rust on it so, I took several photos from different directions. I have put it onto the wood block and played around with it after it was onto the wood - blending and oil paint. I am considering giving it to a family member whose name is Ford!
Wednesday, October 12, 2011
The end of the ugly fabric
Glenda Bailey's blogHere is my process and the end results. I was hoping for something a little more spectacular but in the end I have to remember that the fabric is not the end work. This was just a way to change the fabric so I could use it in something else.
So first I took some random rubber stamps and stamped white acrylic paint onto the fabric to try to add some base cohesion.
Next, I used watercolor crayons, a screen and a texture plate that I created using cardboard and a hot glue gun. I rubbed the texture onto the screen usingthe crayon. Then I screen printing the image onto the fabric using acrylic medium.
The fabric on the left is the fabric before I screen printed some red dye over the top. The fabric to the right is my finished "transformed" fabric.
This is my finished fabric. I think that I got stuck on the idea that I wanted to be able to still see the original fabric in one way or another. I think if I did this over again, I would not have that mind set. But, this was still a fun experiment and a way of thinking about altering fabric instead of throwing it out. If you would like to check out my mother's finished fabric check out her blog at Glenda Bailey's blog
Subscribe to:
Posts (Atom)

